Spinmount® is the easy-to-use solution for exhibiting and retrieving your collections, including record jackets, photos, comic books, artwork, and more. Whether you want to show off your favorite piece or a special grouping, Spinmount is the answer you've been looking for.
Unlike competing products, Spinmount uses a patented spinning mechanism to simplify the display and removal of your artwork.
My name is Brian. I'm a full-time engineer running Spinmount from my garage in Seattle. Back in college, I wanted to mount my records to the wall without damaging them, but I didn't like the options I found. So, I invented Spinmount. I have been using Spinmount in my home for years, and now I want to share it with the world!
As an engineer it's always been a dream of mine to invent something, especially a product that's tangible and directly useful to others. I also want to use Spinmount to help fund the programs that sparked my interest in everything mechanical. I still need to work out the details, but I'd like to donate a portion of future profit to high school shop classes across all trades, including automotive, carpentry, plumbing, welding, machining, and electrical.
Spinmount units are manufactured of acrylic plastic and stainless steel hardware for adaptability and durability.

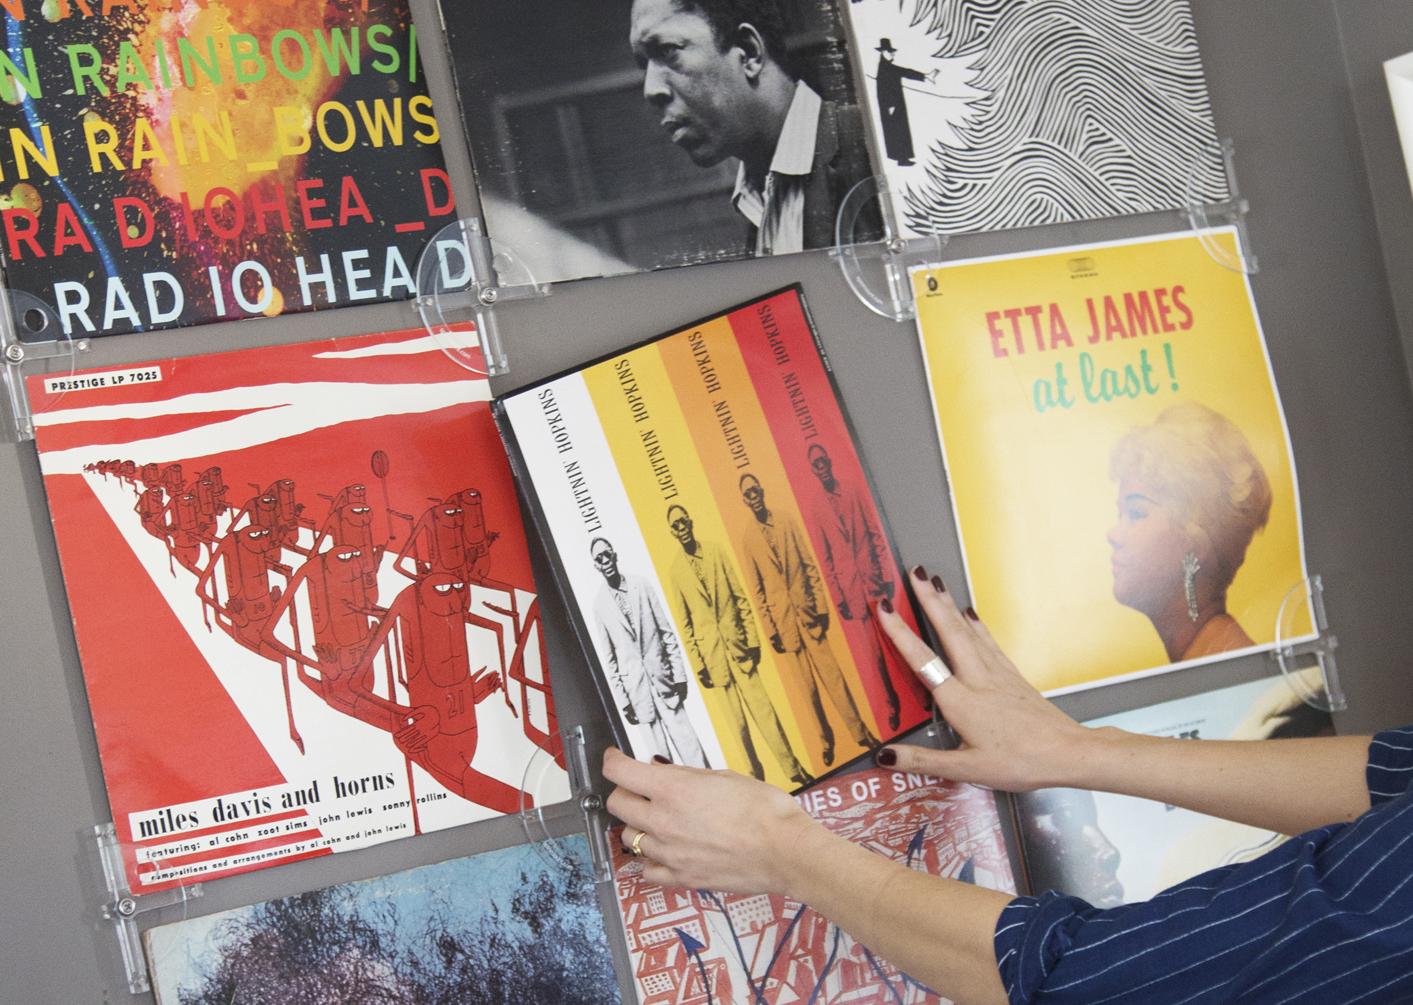
Spinmount operates through a cooperative design methodology wherein adjacent identical units assist in the restraint of each item displayed. Any number of planar items may be displayed; each assembled unit offers the ability to form a grid-like system of varying scale, only limited by the size of the surface to which it is mounted. In addition to quantity, a multitude of different sizes of planar articles, not just 12” x 12” records, nor identically sized articles, may be displayed based on installation.
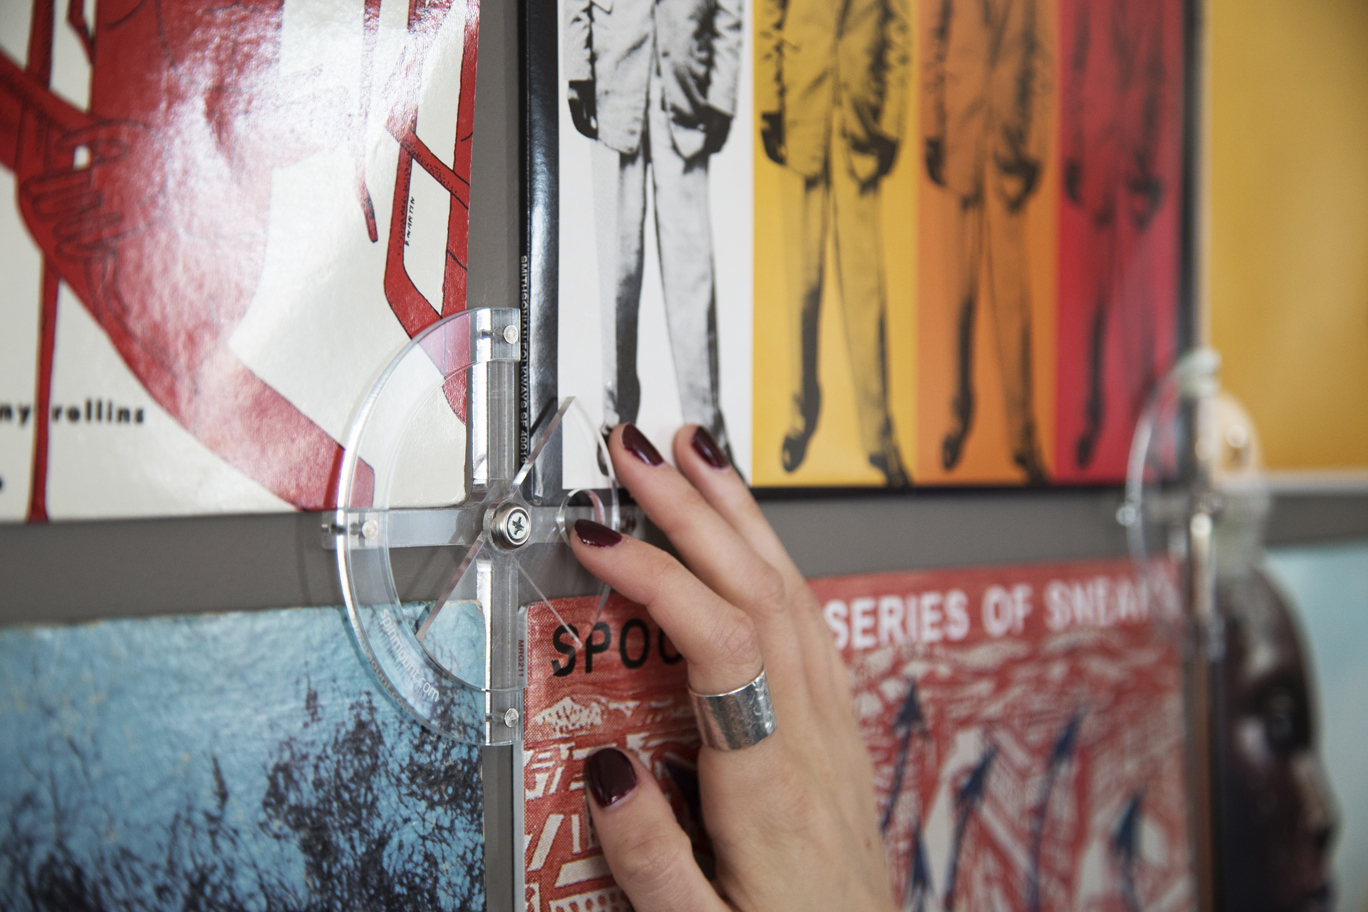
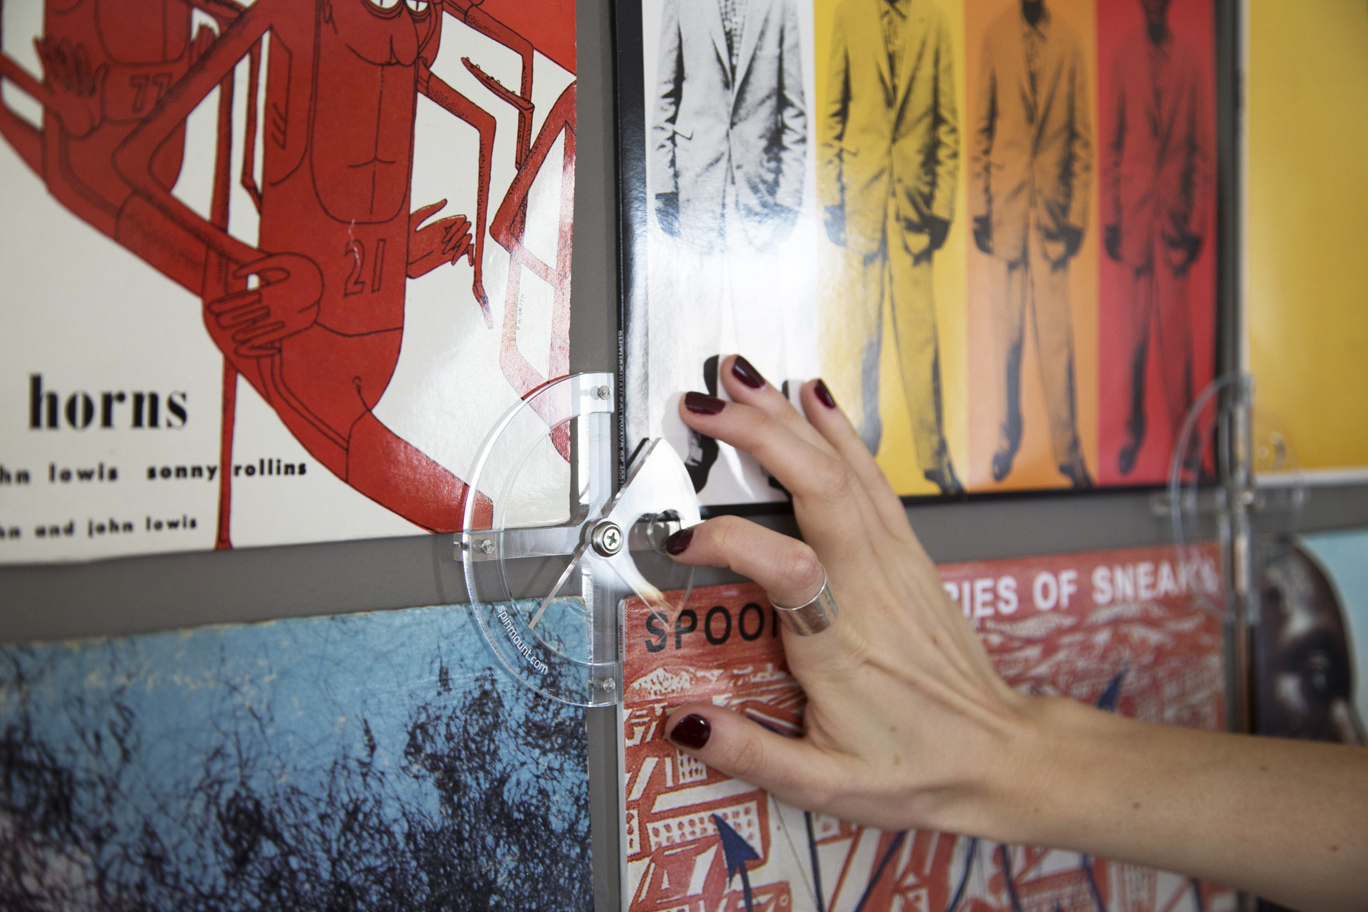
Spinmount provides a simple solution, to remove, secure, and replace planar articles unlike the competition. It features a novel, patented mechanism whereby the swipe of a single finger effectively removes one of the mounting constraints; unlocking two adjacent mechanisms permits removal of any planar article in the display “grid.” Conversely, locking of any planar article parallel to its mounting surface is performed by the same single swipe of a finger through the same adjacent mechanisms.
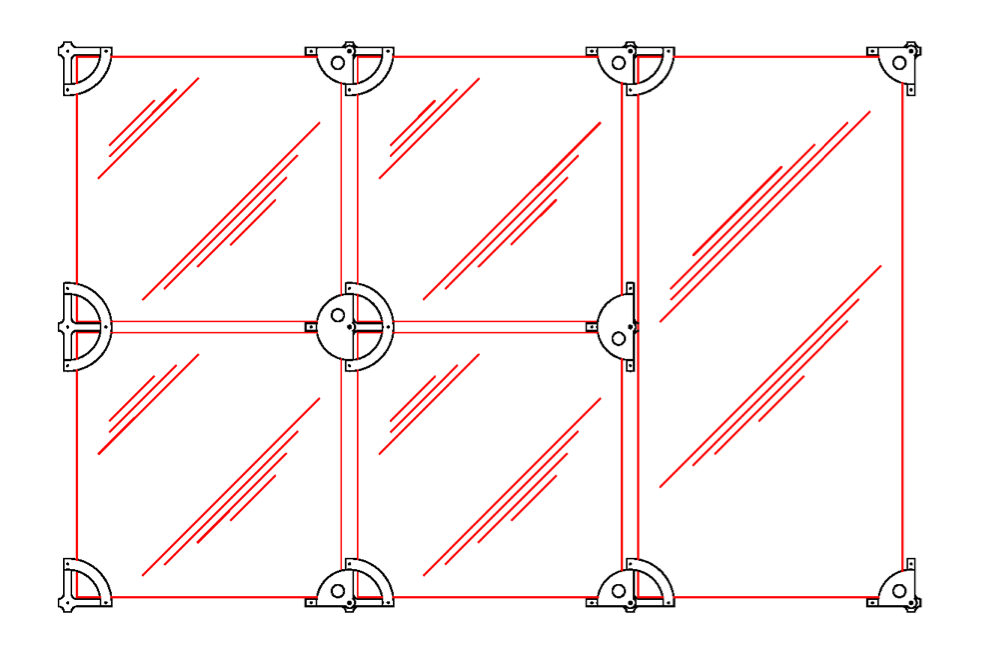
Each component features score, or weakening, lines that allow for reconfiguration of an assembly, based on location within the grid. One unit will work for any type of grid vertex therefore only one shape needs to be manufactured, thereby driving repeatability and increasing speed in the manufacturing workflow. The effect is lower cost of production as well as an increase in consistency.
The following video brings the exploded-view drawing above to life, to help visualize a single Spinmount unit.
Combining multiple Spinmount units is required. For a fixed grid dimension, here are some examples of Spinmount units required to hold X items.
However, as the following video shows, the your collage doesn't have to have fixed dimensions!
During the Spinmount Kickstarter I recieved a lot of useful feedback and am evaluating a new way to attach Spinmount without nails; just double sided tape and a special fastener to attach the outer crescent to the cruciform base as the image to the right shows.
The first batch of Spinmount units to be sold through this website will use nails however, as the exploded-view drawing shows above. Later on, customers will have both attachment options, but baby steps first.

Please purchase Spinmount through my Etsy Shop! For the small quantites I produce and sell, it's easier to manage sales with their system.
First, inventory is limited and will be manufactured in batches based on demand. I don't want to sell inventory I don't have packaged and ready to ship. I will be updating inventory as items sell and a cadence is established.
Second, Spinmount units are sold in the fixed quantities of 9, 15, and 20 to make shipping more efficient: known package dimensions, weight, and distances make things simpler. However, if you need a few more just ask before purchase and we'll work something out.
Finally, and most importantly, you can sign up for future inventory updates by newsletter or follow Spinmount of your favorite social media platform to be alerted when the next batch of Spinmounts will be available to the public; social media links are at the footer of this page!
Everything you need to collage and retrieve 4 objects. Clear acrylic plastic, 3/8" thick base, and stainless steel hardware.
(9) Spinmount and Hardware
Worldwide
0
Everything you need to collage and retrieve 8 objects. Clear acrylic plastic, 3/8" thick base, and stainless steel hardware.
(15) Spinmount and Hardware
Worldwide
0
Everything you need to collage and retrieve 12 objects. Clear acrylic plastic, 3/8" thick base, and stainless steel hardware.
(20) Spinmount and Hardware
Worldwide
10
This section will take you through the steps necessary to setup Spinmount on your wall. The tools you will need include:
Assemble X, T, and L shapes as your grid patten dictates.
Once each Spinmount is assembled and you're happy with the layout on the floor, we now need to transfer the dimensions from floor to wall. I found a cool trick using painters tape to not only speed this process up, but also make sure that your collage is properly aligned!
If you have any questions please don't hesitate to contact me by email: